WORDPRESS TUTORIALS
Introduction
The news section of a political website is the site’s most basic and essential feature. With the increased use of social media, it would be easy to assume that a news section is no longer necessary in politics. This is a false assumption.
A news section allows you to upload in-depth updates on your political work and campaigns in elected office. It also allows you to upload documents for constituents to access quickly—for example, your latest newsletter as a PDF.
A news section on a website should perfectly complement your work on social media. For example, instead of featuring the entire contents of a press release on social media, you should include a snippet with a link to the full article on your website.
The reasons for encouraging your followers on social media to visit your website are simple; it allows you to showcase more of your work and campaigns than would otherwise be possible in a single Facebook post and tweet. The longer a constituent remains on your website and clicks through your news articles, the more likely they will learn about your work and campaigns in elected office.
Elementor Builder allows you to design posts from scratch, requiring no coding skills. A news or press release post is made out of different elements, which include:
- Post Title
- Post Content
- Featured Image
- Social Sharing Links
- Comments
This step-by-step guide will show you how to create new pre-built posts on your Labour website using Elementor Builder.
DIFFICULTY: EASY
Step-by-Step
We’ve created pre-built posts with sample content on our Labour websites, including press releases. The quickest way to create a new post for your website is by using the ‘Clone’ feature. We’ll use the already-made posts as an example of how to make your latest post.
The clone feature will ensure your post has all the custom styling used on your website, such as the contact section at the bottom of posts. The same principles for duplicating a pre-built post would apply to new posts and using the Elementor widgets.
Login to your WordPress dashboard. The URL will likely be your domain name, followed by /wp-admin. So, for example, if the domain name for your website is labourwebsitename.com, the URL for the login section would be labourwebsitename.com/wp-admin.
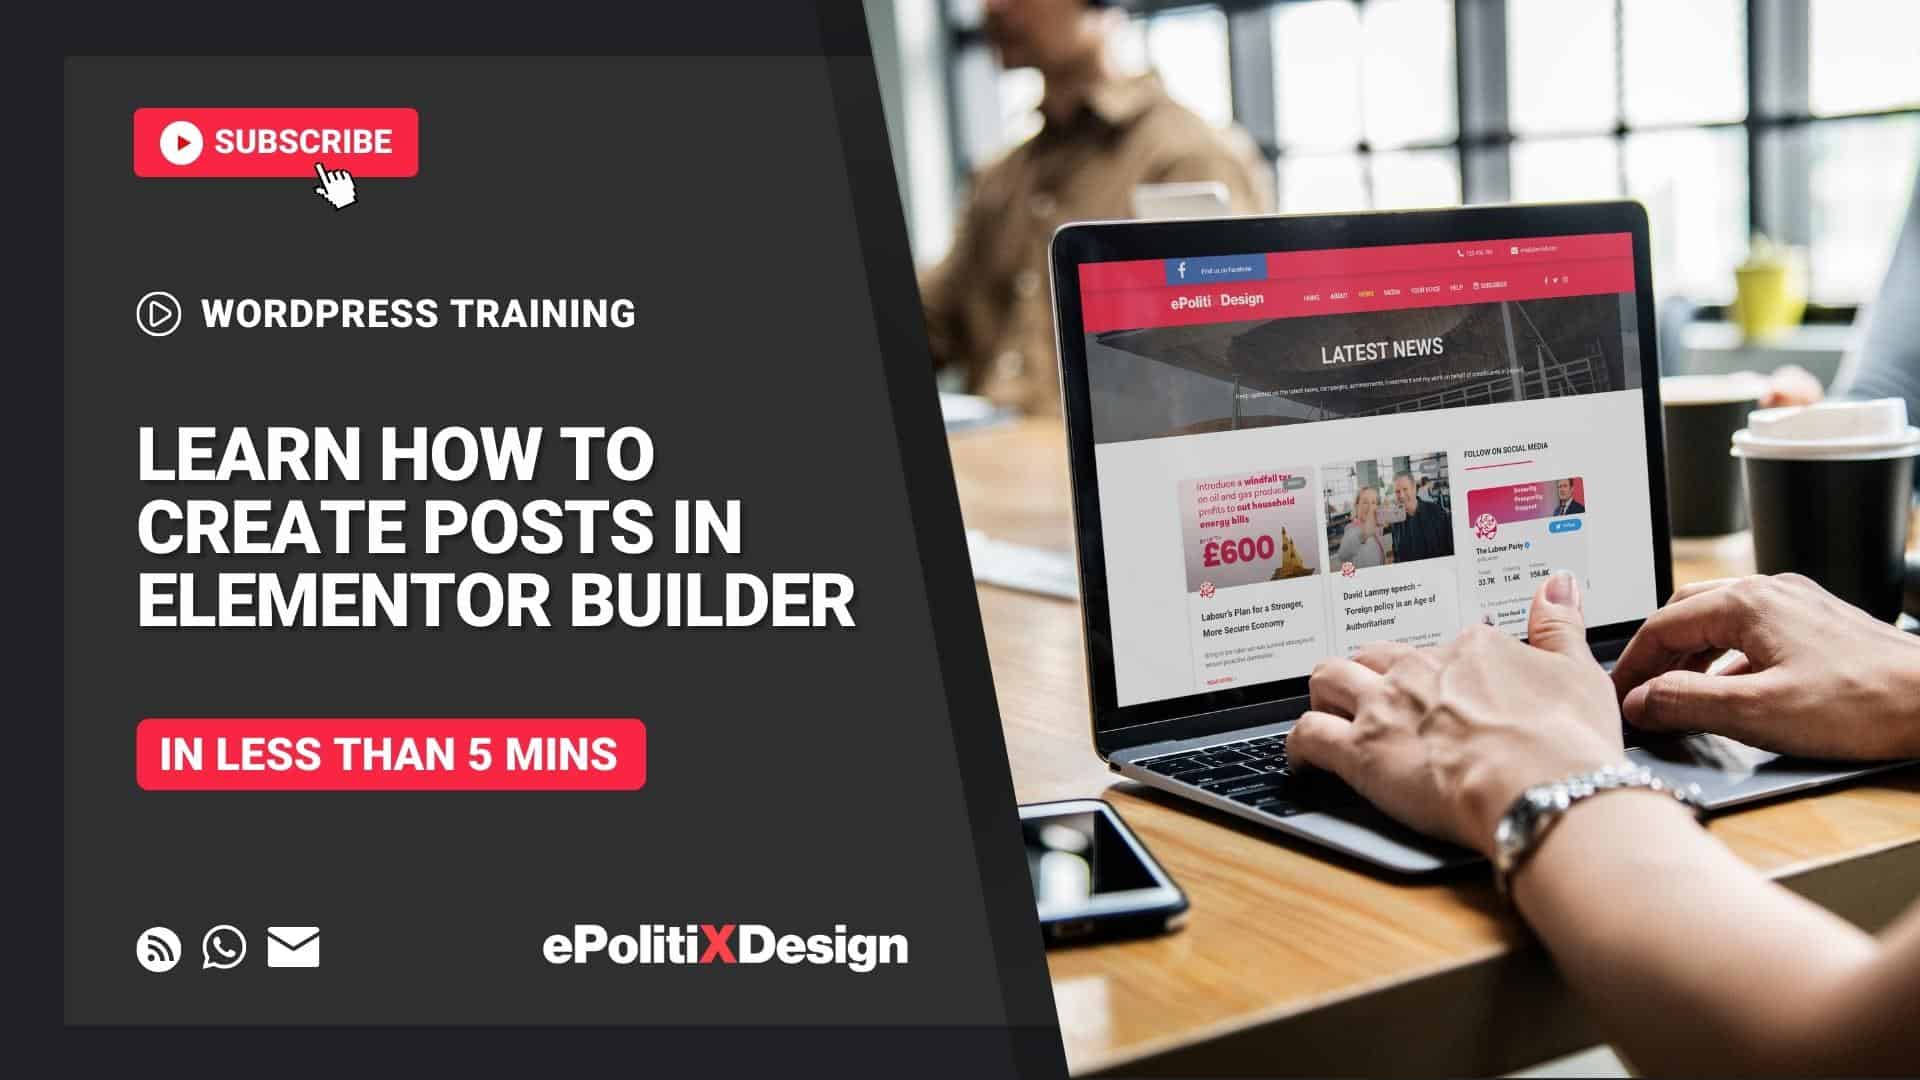
The following video will show you how to create a post with a title, featured image and text using the Elementor builder.
TIPS, ADVICE & GUIDES
Do you need help?
We hope this article helped you to learn how to create new pre-built posts on your Labour website using Elementor Builder.
If you liked this article, then please subscribe to our email newsletter. We provide online training, video tutorials and guides via our blog, email and Zoom. Every Friday, you’ll get actionable tips on how to grow your electoral support using Labour digital marketing strategies.
Is there a tutorial or guide you would like our expert team to create for you? We would love to hear from you. Our team is available 24/7 to support you with your Labour Party website, digital marketing goals, and election strategies, and answer any questions you may have via the contact page, WhatsApp chat, or email. You can also find us on Twitter.


